Have you ever marveled at the instant connection you can have with someone across the globe? Or been amazed by the seemingly endless knowledge at your fingertips with a simple search? The magic behind these experiences lies in the fascinating world of computers and internet technology!
This journey might seem intimidating at first, but imagine the possibilities that await you. Whether you’re a complete beginner or looking to expand your existing knowledge, this guide is your friendly companion. We’ll break down the essentials of computers and internet technology, making them clear, engaging, and most importantly, empowering.
Think of this as your roadmap to navigating the digital world with confidence. You’ll learn the basics of how computers work, explore the vast potential of the internet, and discover the exciting applications that are changing our lives every day. So, buckle up and get ready to unlock a world of opportunities – the adventure starts now!
Understanding Computers and Internet Technology
Firstly, at the heart of our digital age lies the powerful combination of computers and internet technology. Computers, acting as our digital workhorses, process information, perform calculations, and run programs at lightning speed. More so, their capabilities range from the seemingly mundane tasks of word processing and email to the awe-inspiring feats of artificial intelligence and scientific simulations. The internet, on the other hand, acts as a vast global network, connecting these computers and allowing them to share information and resources instantaneously. This interconnections empowers us to access a seemingly infinite well of knowledge, communicate seamlessly across continents, and participate in a dynamic online world – all facilitated by the invisible threads of internet technology. Together, computers and internet technology form the backbone of our digital lives, shaping the way we work, learn, and connect in the 21st century.

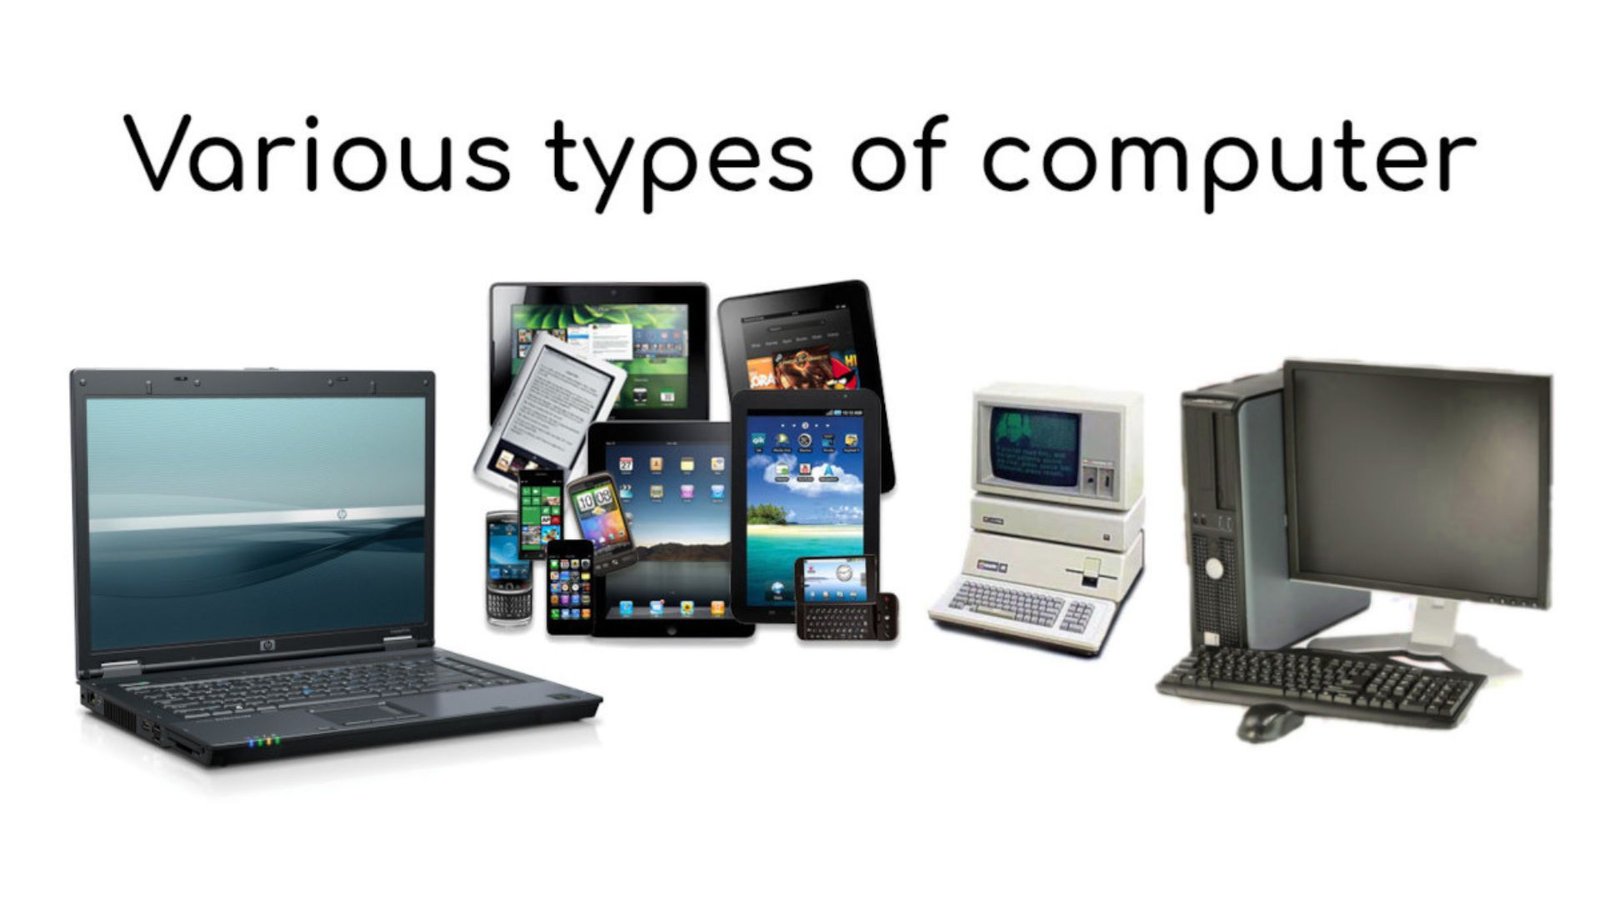
The different types of Computers
Supercomputers
These are the most powerful computers globally, capable of performing complex calculations at extremely high speeds. Moreover, they are used for scientific research, weather forecasting, and simulating complex systems. Supercomputers are typically housed in specialized facilities with advanced cooling systems due to the immense heat they generate.
Mainframe Computers
Mainframe computers are large, powerful computers that can support hundreds or even thousands of users simultaneously. They are used by businesses and organizations that require high levels of data processing and storage, such as banks, insurance companies, and government agencies. Mainframes are known for their reliability and security.
Minicomputers
Minicomputers are smaller and less powerful than mainframes but more powerful than personal computers. They were once widely used in businesses for tasks such as accounting and database management. However, with the increasing power of personal computers, minicomputers have become less common.
Microcomputers
Microcomputers, also known as personal computers (PCs), are the most common type of computer today. They are relatively inexpensive and powerful enough for a wide range of tasks, from word processing and web browsing to gaming and video editing. PCs come in a variety of sizes and configurations, from desktop computers to laptops and tablets.
Workstations
Workstations are high-performance personal computers designed for professional use. They are typically more powerful than standard PCs and have features that are important for tasks such as computer-aided design (CAD) and video editing.
Servers
Furthermore, servers are the workhorses of a network, acting as dedicated computers that provide essential resources and services to other devices connected to them.They can store data, run applications, and manage network resources. Additionally, servers come in a variety of sizes and configurations, from small servers that can be used in a home office to large servers that can power entire data centers.
Mobile Computers
Mobile computers are small, portable computers that are designed for use on the go. They include laptops, tablets, smartphones, and wearable computers. Mobile computers are becoming increasingly popular as they become more powerful and affordable.
The Everyday Benefits of Computers and the Internet
Computers and the internet have woven themselves into the fabric of our daily lives. Beyond the realm of entertainment and social media, this dynamic duo offers a wealth of benefits that can empower us in countless ways. Let’s explore some of the most impactful advantages computers and the internet bring to our everyday experience.
Enhanced Communication and Connection
The internet has revolutionized how we connect with loved ones, colleagues, and even strangers who share our interests. Whether it’s a quick video call with family across the globe or collaborating on a project with colleagues in different time zones, staying connected is easier than ever. Social media platforms allow us to stay in touch, share experiences, and build communities based on shared passions.
A Gateway to Knowledge and Learning
Gone are the days of bulky encyclopedias! Additionally, the internet offers a vast library of information at our fingertips. From educational websites and online courses to in-depth research materials and video tutorials, the internet empowers us to become lifelong learners. Whether you’re brushing up on a forgotten skill, delving into a new hobby, or pursuing academic endeavors, the wealth of knowledge available online is truly empowering.
Boosting Productivity and Efficiency
Computers have become powerful tools for managing our daily tasks. From creating schedules and to-do lists to utilizing productivity apps and project management software, computers streamline our workflow and help us get more done in less time. Additionally, the internet offers a plethora of online services that can simplify everyday tasks like bill payments, online shopping, and booking appointments, freeing up valuable time for other pursuits.
Unveiling a World of Entertainment
Let’s face it, computers and the internet offer a fantastic source of entertainment. Streaming services provide access to a vast library of movies and shows, while online platforms cater to games of all genres. We can explore virtual museums, delve into the world of music streaming, or simply unwind with a good book on an e-reader. The internet provides a gateway to a universe of entertainment options, catering to diverse interests and moods.
A Platform for Creativity and Self-Expression
The internet provides a platform for individuals to showcase their talents and creativity. Social media allows artists, musicians, and writers to share their work with a global audience. Online communities foster collaboration and provide a space for individuals to connect and learn from each other. Whether you’re a budding blogger, a passionate photographer, or simply enjoy creating content to share, the internet offers a platform to express yourself and connect with like-minded individuals.
These are just a few of the many ways computers and the internet benefit our everyday lives. Furthermore, as technology continues to evolve, the possibilities will only continue to expand. By embracing these digital tools and exploring their potential, we can unlock a world of opportunities for learning, connection, and personal growth.
Emerging Trends in Computing and the Internet
The ever-evolving landscape of computers and the internet continues to push boundaries. Unfold the wonders of tomorrow! Let’s explore the cutting-edge advancements shaping the future of technology:
Artificial Intelligence (AI): Machines are becoming smarter, capable of learning and adapting. AI is poised to revolutionize everything from healthcare diagnostics to personalized user experiences.
- The Internet of Things (IoT): Everyday objects are becoming internet-connected, creating a vast network of “smart” devices. This interconnectedness promises automation, convenience, and improved data collection, but also raises security concerns.
- Cloud Computing: Processing power and data storage are shifting to the cloud, offering increased accessibility and scalability for businesses and individuals alike.
- Quantum Computing: This revolutionary technology harnesses the power of quantum mechanics to solve problems beyond the reach of traditional computers, potentially impacting fields like materials science and drug discovery.
These are just a few of the emerging trends shaping the future of computing and the internet. As this dynamic duo continues to evolve, one thing remains certain: the possibilities are truly limitless.
The Future with Emerging Technologies
Furthermore, technology is a constant dance of innovation, and staying ahead of the curve can feel daunting. But fear not, fellow tech enthusiasts! Here’s your roadmap to becoming an explorer of the digital frontier. Firstly, leverage the power of reputable tech news websites and podcasts. These platforms deliver bite-sized updates and in-depth discussions on the latest trends in AI, cybersecurity, or the ever-expanding Internet of Things. Secondly, online courses offered by universities and tech giants provide structured learning pathways. Finally, tap into the wealth of knowledge and support offered by online communities and forums.Engaging with passionate individuals allows you to ask questions, share ideas, and gain valuable insights from a diverse range of tech-savvy minds. So, buckle up and embrace the adventure – the future of technology awaits!
A Guide to Upgrading Components
Feeling like your computer is lagging behind? Don’t rush to replace the whole machine just yet! Upgrading specific components can be a cost-effective way to revitalize your system. For a noticeable performance boost, consider adding more RAM. This allows your computer to juggle multiple tasks more efficiently. If slow loading times are your pain point, a switch to a Solid-State Drive (SSD) can dramatically improve boot speeds and overall responsiveness. For gamers and graphics-intensive tasks, a new graphics card might be the answer. However, carefully research compatibility with your existing motherboard and power supply before diving in. Remember, a helping hand is always available online or from a local computer technician if you need guidance during the upgrade process. Get ready to experience your computer like new!
Level Up Your Tech Game: Resources to Fuel Your Curiosity
The ever-evolving landscape of technology can feel overwhelming, but fret no more! Here’s your toolkit to transform from a passive observer to an active participant in the digital revolution. First, immerse yourself in the vibrant world of tech news websites and podcasts. These platforms offer a treasure trove of information, from bite-sized updates on groundbreaking AI advancements to insightful discussions on the future of cybersecurity. Next, leverage the power of online courses. More so, universities and tech giants alike offer structured learning pathways, allowing you to delve deeper into specific areas like coding or data analysis. Finally, don’t underestimate the value of online communities and forums. Engage with passionate individuals, ask questions, share ideas, and gain valuable insights from a diverse pool of tech enthusiasts. So, unleash your inner tech explorer – the future is waiting to be discovered!
Key Facts on Computers and Internet Technology
Computer Basics
- The first electronic computer, ENIAC, weighed over 27 tons and occupied 1800 square feet of space!
- Today’s smartphones are estimated to be about 100,000 times more powerful than the computer that guided the Apollo 11 moon landing.
- Computers store information in a binary system using 0s and 1s.
Internet Facts
- The internet is a vast network of interconnected computers worldwide, enabling communication and information sharing across geographical boundaries.
- The World Wide Web (WWW) is a collection of websites and web pages accessible through the internet using web browsers.
Impact and Benefits
- Computers and the internet have revolutionized communication, making it easier and faster to connect with loved ones and colleagues globally.
- The internet offers a vast library of information at our fingertips, empowering lifelong learning and exploration.
- Computers and online tools have boosted productivity and efficiency across various sectors, from business and education to entertainment and healthcare.
Conclusion
In conclusion, the world of computers and internet technology is a vast and ever-evolving landscape. Whether you’re a seasoned user or just starting your exploration, there’s always something new to learn and discover. By equipping yourself with the knowledge and skills covered in this resource, you’ll be well on your way to navigating this exciting digital frontier with confidence. Remember, the journey of learning is continuous, so don’t hesitate to explore further, ask questions, and embrace the challenges that come with venturing into new technological territories. The power to unlock a world of possibilities lies at your fingertips – so keep exploring, keep learning, and keep empowering yourself in the ever-expanding digital age!
FAQs
What are different types of computer storage?
Common storage options include Hard Disk Drives (HDDs) – offering large capacities at lower costs but with slower speeds. Solid-State Drives (SSDs) provide faster performance but at a higher cost per gigabyte. Cloud storage allows you to store files online for remote access from any device.
What is a computer network?
A computer network connects two or more devices to share resources like files, printers, and internet access. Networks can be wired or wireless, with varying ranges and security protocols.
What is cybersecurity?
Cybersecurity refers to practices and technologies used to protect computers, networks, and data from unauthorized access, use, disclosure, disruption, modification, or destruction. More so, this includes antivirus software, firewalls, and secure browsing habits.
What is Wi-Fi?
Wi-Fi (Wireless Fidelity) allows wireless internet access within a local area network (LAN) using a wireless router. Additionally, it eliminates the need for cables and provides internet connectivity to devices like laptops, smartphones, and tablets within its range.
What are some benefits of using online productivity tools?
Online tools like Google Docs, Microsoft Office 365, and project management platforms offer real-time document editing, collaboration features, and accessibility from any device. This allows for efficient teamwork and improved communication, especially for geographically dispersed teams.
You might be interested in:
- Internet Addiction and its Effects on Mental Health
- Microsoft’s Role in the Internet Revolution
- Characteristics of a Computer System
- A Closer Look at the Microsoft Ecosystem